
Choosing an Underwater Photography Lighting System
What’s Right for You? – by Denise Kitchel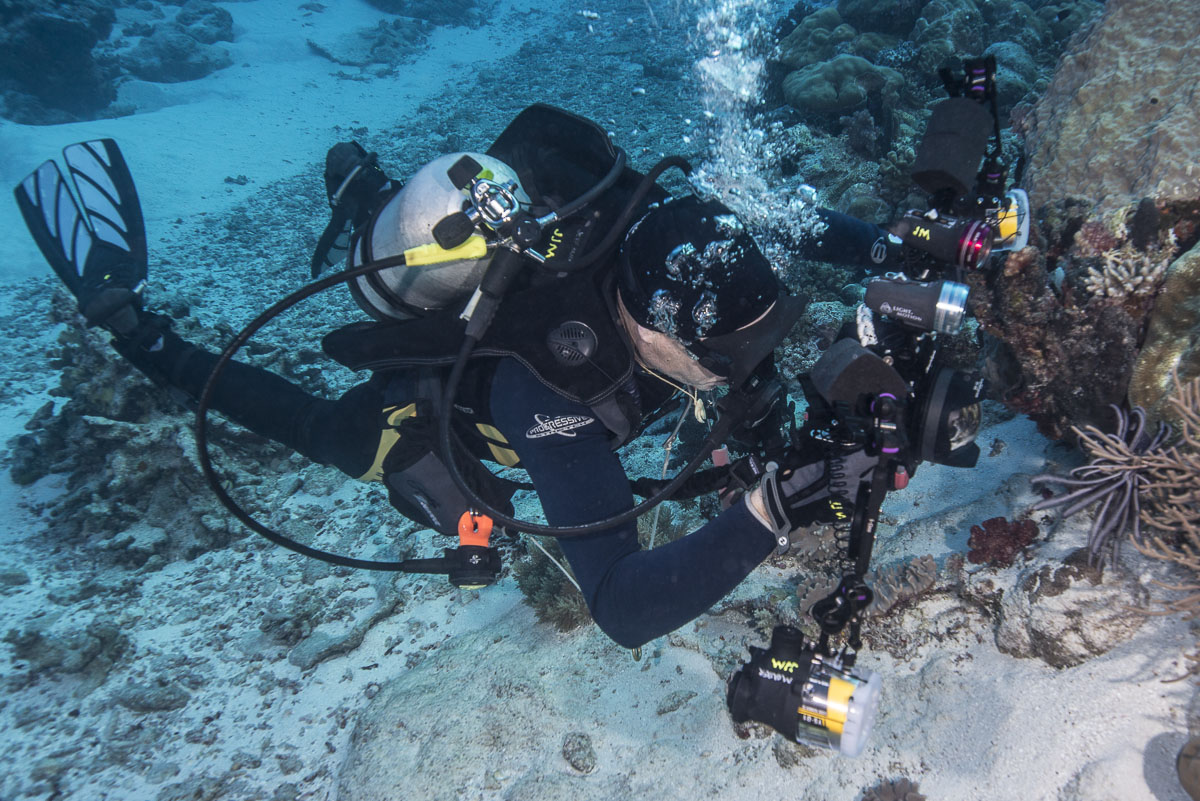 Why do I need a lighting system?
That might seem like a silly question, but it is not always obvious to people what factors are involved in determining how much lighting they need. There are a few things that determine the amount of color saturation and image clarity in underwater photography: depth, ambient light, and water clarity. Obviously you're not in control of the depth that your subject is at, or the water clarity, but you do have some say in the amount of light. By adding to the available natural light, you’ll be able to improve the color saturation, sharpness and clarity of your photos.
Underwater Depth and Color
Think about rainbows; they are a vision of light refracted into individual colors through rain (drops of water). So, it’s only natural that when we’re under water, colors change based on the light from above being refracted and absorbed by the water. Each color is a different wave length and energy level, which means that each color absorbs at a different rate.
Colors vanish underwater in the same order as they appear in the color spectrum.
- Red – The first to disappear, you may see a noticeable difference in red at 5ft and a complete loss at 15ft.
- Orange – The next to go, oranges will be lost at between 25 and 30ft.
- Yellow – Next are yellows, which fade at 35 to 40ft
- Green – The last to go are greens at anywhere between 50 and 75ft.
Keep in mind the impact of horizontal distance as well. If you are 10 feet underwater, and you are viewing an object that is 10 feet away, you are viewing the light that has reflected off of that object, which has actually travelled 20 feet to reach your eye. At that point, all of the reds will have been filtered out.
Similarly, the light from your system will have to travel 10 feet to the subject you’re shooting and reflect 10 feet back to the camera lens, for a total of 20 feet. Keep this in mind when setting up your shots. The closer you get, the better the color.
Mind Games
The interesting thing is that our brains are wired to compensate for the loss of color. We see a familiar object under water and we see red, because we know it is red, but when we take a photo of it with only natural light, there is no red. So, you actually need lighting when you don’t necessarily think you do.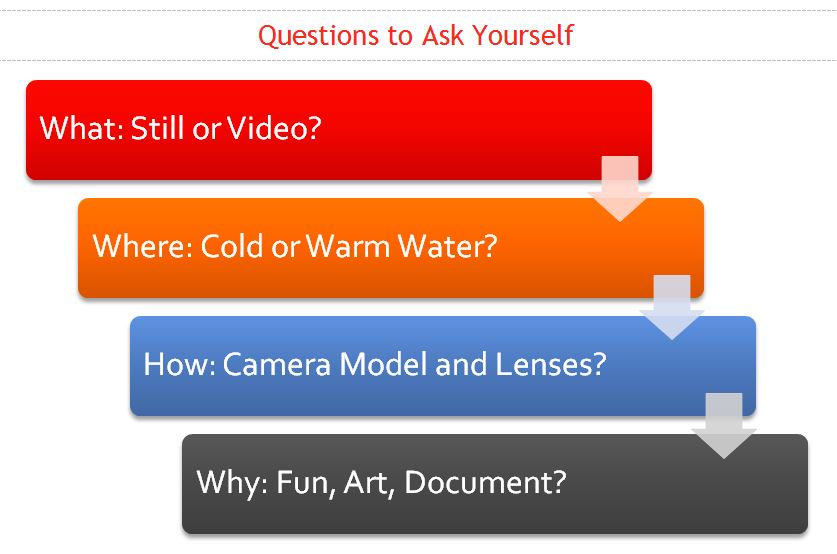
Where do I start?
To choose the right underwater lighting system, you will have to think about a number of things: What kind of photography will I primarily be shooting, stills or video? What subjects will I be shooting? What will the available light be like where I dive? What kind of camera, housing and lenses will I be using? Why am I taking photos and what do I plan to do with them?
Once you have answers to these questions, you’ll be well on your way to picking out the right components you need in order to put together a lighting system that will take your photos to a whole new level!
What do I have to choose from?
There are several components that go into a lighting system: one or more types of lights, arms, trays, handles, clamps, adapters, mounts and sync cords. Below is a description of each and how they work together to make one awesome lighting system!
Types of Lights - Lights generally fall into one of two categories:
 Continuous Lights – These are lights that you turn on and they stay on until you turn them off. Their output is measured in lumens, which defines the total amount of visible light emitted, and can range anywhere from 300 to 18,000 lumens. Focus lights and video lights fall into this category.
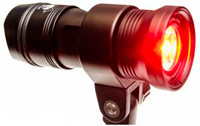
- Focus Lights
Focus lights are lower lumen, continuous lights. They help you to see while setting up a shot, and help your camera lock in focus on subjects in the somewhat dim lighting conditions found underwater. They are essential for night diving, in that trying to hold a dive light for visibility and take pictures at the same time is nearly impossible.
Some have built-in red lights, or a red filter, which is great for shooting shy creatures (like crustaceans or octopus) that can’t see the color red. It also means that you won’t be the one swarmed by krill while trying to get a shot of that gorgeous manta, but your buddy shooting video with high-lumen white light certainly will! - Video Lights
When shooting video you’ll need a strong light, at least 800 lumens, but 1200 or more is recommended, with a wide beam angle. Video is all about capturing movement, so think about needing to light up a large space with even light out from edge to edge.
When shooting video with a wide angle lens, you’ll want 2 lights in order to have even coverage. For macro video, a single 800 lumen light will do the job, but a minimum of 1200 lumens is necessary if you’ll be shooting both still and video.
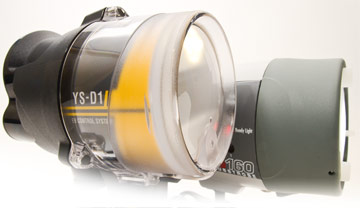 Strobe Lights – These are lights that emit a short burst of intense, extremely powerful light, providing crispness, sharpness and color saturation to your photos. They are usually connected to your camera housing with a sync cord, allowing the camera to signal the strobe to fire. Their output is measured in underwater guide numbers that range from 12 to 32 or more.
Strobes are essential for still photography. Yes, your camera has a built-in flash, but that flash was intended for above water photos, where you don’t need to worry about things like refraction of light through water and reflection from backscatter. It’s also built-in, which means it is in a fixed position on the inside of your housing, where it will be shadowed by the port on your housing, and the light it emits will always be straight ahead. It will light up the particles in the water really well, meaning lots of good shots of backscatter, but not light your subject too well at all. With a strobe, you can position your light in a way that reduces backscatter, and give yourself some creative lighting options.
Manual and TTL Exposure: Strobe can have two different exposure control systems; manual and auto-TTL. Manual is just that; a control to change the power (duration) of the strobe's output. TTL (Through The Lens metering) is a method for the strobe to either be controlled directly from the camera with an electrical sync connection, or by using an optical sync, to mimic the camera's flash. This is also sometimes refered to as D-TTL, or slave TTL.
Can I use a high-power continous light instead of a strobe? The answer is not really well. Even the smallest strobe puts out thousands of candle power of light intensity instantaneously. This very quick, high-powered light gives you the color saturation and sharpenss desired for still photos. If you use a continous light for still photos, you'll have to shoot at high ISOs, with slow shutter speeds and open aperatures, as the light just doesn't have the same intensity. Your photos will tend to be soft looking and darker, without intense colors, sharpness or detail. In a recent test we conducted, an 18,000 lumen video light put out about what a small strobe could, and it really only worked well for macro or close up photos. This is an area of some debate, and again, it depends on how you're going to use your photos.
Things to Consider When choosing lights, you’ll want to consider several things in order to make sure that you’re getting the best light for the money.
|
 Trays
Trays
A tray is the base for connecting all of your components together. Most DSLRs will come with a tray and handle, so you may not need to choose a separate one. If you do though, you’ll need to consider a few things. The size of your housing is the biggest determining factor for which trays you’ll have to choose from. After that, your options will be narrowed based on the mount for the type of housing you have. Next, you’ll want to look at how adjustable they are, so that you’ll be able to configure it best for your fit (the size of your hands with gloves on or off) and so that you’ll have a better chance of being able to reuse it if you buy a new housing.
Handles
Trays can be single handle or double handle. Some trays come with handles attached, and some you purchase separately. In any case, you’ll want to choose handles that have a comfortable grip for your hand size. Arms & Clamps
Once you’ve got your tray and handles figured out, you’ll want to think about what kinds of arms you’ll need. There are flex arms, float arms (to offset the additional weight of your system), and rigid arms that come in several different lengths. You’ll connect them together with clamps that allow you to position your lights however you’d like and lock them into position or allow them to be easily moved.
Adapters & Mounts
Any number of adapters and mounts are available to connect together components from different manufacturers. Some are necessary to mount lighting on top of housings instead of arms, others adapt lighting to different arms. Just know that if you’re buying separate lighting system components, rather than purchasing a lighting package, you may need to purchase adapters and/or mounts as well.
Sync Cords
Sync cords provide a connection between the housing and strobe to fire it in sync with the camera's built in flash. There are two types of sync cords: Electrical and Fiber Optic.
Electrical sync cords can provide the best performance and save the camera battery. However, the housing must be able to support them by providing a connection into the camera, which can be another source for floods.
Fiber optic sync cords are the newer method and are preferred for ease of use. One end of the cord connects to the strobe, and the other end is connected to the outside of the housing, over the camera’s flash, by attaching it to a built in port on the housing or simply with Velcro. When the flash fires, the light travels through the fiber optic cord and signals the strobe to fire. The beauty of this is that there is no hole drilled into the housing, so no worry about flooding.
How about a Lighting Package?
Want to make it easy on yourself and get the biggest bang for your buck? Consider purchasing one of our lighting packages. We’ve put together what we think are the best configurations for various housings, based on the needs of our customers, at a reasonable price. Take a look on our website!


Brilliant, you really do consider everything that is important here!
Posted by Patent Lawyer |
5:14 AM
Patent Lawyer |
5:14 AM
This info was very useful and easy to understand! thank you. Denisse from Cozumel island, México
Posted by Unknown |
8:52 AM
Unknown |
8:52 AM